Example
Let's create a simple todo-item graphql example.
Set up a new nest app#
npm i -g @nestjs/clinest new nestjs-query-getting-startedInstall Dependencies#
note
Be sure to install the correct ORM package!
Install extra dependencies for the example.
npm i pg apollo-server-expressGenerate the Module#
From the root of your project run:
npx nest g mo todo-itemCreate the Entity#
From the root of your project run:
npx nest g cl todo-item.entity todo-itemNow lets fill out the entity.
Add the following to src/todo-item/todo-item.entity.ts.
- TypeOrm
- Sequelize
- Mongoose
- Typegoose
import {  Column,  CreateDateColumn,  Entity,  PrimaryGeneratedColumn,  UpdateDateColumn,} from 'typeorm';
@Entity()export class TodoItemEntity {  @PrimaryGeneratedColumn()  id!: string;
  @Column()  title!: string;
  @Column()  completed!: boolean;
  @CreateDateColumn()  created!: Date;
@UpdateDateColumn() updated!: Date;}import { Table, Column, Model, CreatedAt, UpdatedAt, PrimaryKey, AutoIncrement,} from 'sequelize-typescript';
@Tableexport class TodoItemEntity extends Model<TodoItemEntity, Partial<TodoItemEntity>> { @PrimaryKey @AutoIncrement @Column id!: number;
@Column title!: string;
@Column completed!: boolean;
@CreatedAt created!: Date;
@UpdatedAt updated!: Date;}
import { Prop, Schema, SchemaFactory } from '@nestjs/mongoose';import { Document } from 'mongoose';
@Schema({ timestamps: { createdAt: 'created', updatedAt: 'updated' } })export class TodoItemEntity extends Document {  @Prop({ required: true })  title!: string;
  @Prop()  description?: string;
  @Prop({ required: true })  completed!: boolean;
  @Prop({ default: Date.now })  created!: Date;
  @Prop({ default: Date.now })  updated!: Date;}
export const TodoItemEntitySchema = SchemaFactory.createForClass(TodoItemEntity);
import { Base } from '@typegoose/typegoose/lib/defaultClasses';import { Prop, modelOptions, Ref } from '@typegoose/typegoose';import { Types } from 'mongoose';import { SubTaskEntity } from '../sub-task/sub-task.entity';import { TagEntity } from '../tag/tag.entity';
@modelOptions({  schemaOptions: {    timestamps: { createdAt: 'created', updatedAt: 'updated' },    collection: 'todo-items',    toObject: { virtuals: true },  },})export class TodoItemEntity implements Base {  @Prop({ required: true })  title!: string;
  @Prop()  description?: string;
  @Prop({ required: true })  completed!: boolean;
  @Prop({ default: Date.now })  created!: Date;
@Prop({ default: Date.now }) updated!: Date;}Create the DTO#
The DTO (Data Transfer Object) is used by the resolver to represent incoming requests and outgoing responses.
The DTO is where you can:
- Define fields that should be rendered by graphql.
- Define fields that should be filterable using the
@FilterableFielddecorator. - Define validation that will be used by mutations.
In this example the DTO and entity are two different classes to clearly demonstrate what is required for graphql vs
the persistence layer. However, you can combine the two into a single class.
From the root of your project run:
npx nest g cl todo-item.dto todo-itemNow lets fill out the DTO. Add the following to src/todo-item/todo-item.dto.ts.
import { FilterableField, IDField } from '@nestjs-query/query-graphql';import { ObjectType, GraphQLISODateTime, Field, ID } from '@nestjs/graphql';
@ObjectType('TodoItem')export class TodoItemDTO {  @IDField(() => ID)  id!: number;
  @FilterableField()  title!: string;
  @FilterableField()  completed!: boolean;
  @Field(() => GraphQLISODateTime)  created!: Date;
  @Field(() => GraphQLISODateTime)  updated!: Date;}
Notice the use of @FilterableField this will let @nestjs-query/query-graphql know to allow filtering on the
corresponding field. If you just use @Field then you will not be able to filter on the corresponding field.
Wire everything up.#
Update the todo-item.module to set up the NestjsQueryGraphQLModule and the entities to provide a QueryService.
The NestjsQueryGraphQLModule will automatically create a Resolver that will expose the following queries and mutations:
Queries
todoItems- find multipleTodoItems.todoItem- find oneTodoItem.
Mutations
createManyTodoItems- create multipleTodoItems.createOneTodoItems- create oneTodoItem.updateManyTodoItems- update multipleTodoItems.updateOneTodoItems- update oneTodoItem.deleteManyTodoItems- delete multipleTodoItemss.deleteOneTodoItems- delete oneTodoItem.
- TypeOrm
- Sequelize
- Mongoose
- Typegoose
import { NestjsQueryGraphQLModule } from '@nestjs-query/query-graphql';import { NestjsQueryTypeOrmModule } from '@nestjs-query/query-typeorm';import { Module } from '@nestjs/common';import { TodoItemDTO } from './todo-item.dto';import { TodoItemEntity } from './todo-item.entity';
@Module({ imports: [ NestjsQueryGraphQLModule.forFeature({ // import the NestjsQueryTypeOrmModule to register the entity with typeorm // and provide a QueryService imports: [NestjsQueryTypeOrmModule.forFeature([TodoItemEntity])], // describe the resolvers you want to expose resolvers: [{ DTOClass: TodoItemDTO, EntityClass: TodoItemEntity }], }), ],})export class TodoItemModule {}import { NestjsQueryGraphQLModule } from '@nestjs-query/query-graphql';import { NestjsQuerySequelizeModule } from '@nestjs-query/query-sequelize';import { Module } from '@nestjs/common';import { TodoItemDTO } from './todo-item.dto';import { TodoItemEntity } from './todo-item.entity';
@Module({ imports: [ NestjsQueryGraphQLModule.forFeature({ // import the NestjsQuerySequelizeModule to register the entity with sequelize // and provide a QueryService imports: [NestjsQuerySequelizeModule.forFeature([TodoItemEntity])], // describe the resolvers you want to expose resolvers: [{ DTOClass: TodoItemDTO, EntityClass: TodoItemEntity }], }), ],})export class TodoItemModule {}import { NestjsQueryGraphQLModule } from '@nestjs-query/query-graphql';import { NestjsQueryMongooseModule } from '@nestjs-query/query-mongoose';import { Module } from '@nestjs/common';import { TodoItemDTO } from './todo-item.dto';import { TodoItemEntity, TodoItemEntitySchema } from './todo-item.entity';
@Module({ imports: [ NestjsQueryGraphQLModule.forFeature({ // import the NestjsQueryMongooseModule to register the entity with mongoose // and provide a QueryService imports: [ NestjsQueryMongooseModule.forFeature([ { document: TodoItemEntity, name: TodoItemEntity.name, schema: TodoItemEntitySchema }, ]), ], // describe the resolvers you want to expose resolvers: [{ DTOClass: TodoItemDTO, EntityClass: TodoItemEntity }], }), ],})export class TodoItemModule {}import { NestjsQueryGraphQLModule } from '@nestjs-query/query-graphql';import { Module } from '@nestjs/common';import { NestjsQueryTypegooseModule } from '@nestjs-query/query-typegoose';import { TodoItemDTO } from './dto/todo-item.dto';import { TodoItemEntity } from './todo-item.entity';
const guards = [AuthGuard];@Module({ providers: [TodoItemResolver], imports: [ NestjsQueryGraphQLModule.forFeature({ imports: [NestjsQueryTypegooseModule.forFeature([TodoItemEntity])], resolvers: [{ DTOClass: TodoItemDTO, EntityClass: TodoItemEntity }], }), ],})export class TodoItemModule {}Next update app.module to set up your db connection and the graphql nest modules.
- TypeOrm
- Sequelize
- Mongoose
- Typegoose
import { Module } from '@nestjs/common';import { GraphQLModule } from '@nestjs/graphql';import { TypeOrmModule } from '@nestjs/typeorm';import { AppController } from './app.controller';import { AppService } from './app.service';import { TodoItemModule } from './todo-item/todo-item.module';
@Module({ imports: [ TypeOrmModule.forRoot({ type: 'postgres', database: 'gettingstarted', username: 'gettingstarted', autoLoadEntities: true, synchronize: true, logging: true, }), GraphQLModule.forRoot({ // set to true to automatically generate schema autoSchemaFile: true, }), TodoItemModule, ], controllers: [AppController], providers: [AppService],})export class AppModule {}import { Module } from '@nestjs/common';import { GraphQLModule } from '@nestjs/graphql';import { SequelizeModule } from '@nestjs/sequelize';import { AppController } from './app.controller';import { AppService } from './app.service';import { TodoItemModule } from './todo-item/todo-item.module';
@Module({ imports: [ TodoItemModule, SequelizeModule.forRoot({ dialect: 'postgres', database: 'gettingstarted', username: 'gettingstarted', autoLoadModels: true, synchronize: true, logging: true, }), GraphQLModule.forRoot({ // set to true to automatically generate schema autoSchemaFile: true, }), ], controllers: [AppController], providers: [AppService],})export class AppModule {}
import { Module } from '@nestjs/common';import { GraphQLModule } from '@nestjs/graphql';import { MongooseModule } from '@nestjs/mongoose';import { AppController } from './app.controller';import { AppService } from './app.service';import { TodoItemModule } from './todo-item/todo-item.module';
@Module({  imports: [    MongooseModule.forRoot('mongodb://localhost/nest', options),    GraphQLModule.forRoot({      // set to true to automatically generate schema      autoSchemaFile: true,    }),    TodoItemModule,  ],  controllers: [AppController],  providers: [AppService],})export class AppModule {}
import { Module } from '@nestjs/common';import { GraphQLModule } from '@nestjs/graphql';import { TypegooseModule } from 'nestjs-typegoose';import { TodoItemModule } from './todo-item/todo-item.module';
@Module({  imports: [    TypegooseModule.forRoot('mongodb://localhost/nest', options),    GraphQLModule.forRoot({      // set to true to automatically generate schema      autoSchemaFile: true,    }),    TodoItemModule,  ],})export class AppModule {}
NOTE For the sake of brevity, the options object in the Mongoose and Typegoose examples aren't defined. If you'd like to see full examples of all of the persistence services, please refer to the ./examples directory in the source code.
Create a docker-compose.yml file in the root of the project
version: "3"
services:  postgres:    image: "postgres:11.5"    environment:      - "POSTGRES_USER=gettingstarted"      - "POSTGRES_DB=gettingstarted"    expose:      - "5432"    ports:      - "5432:5432"  # only needed if using mongoose  mongo:    image: "mongo:4.4"    restart: always    ports:      - "27017:27017"  mongo-express:    image: "mongo-express:latest"    restart: always    ports:      - 8081:8081
Running the Example#
Start the backing services
docker-compose up -dStart the app
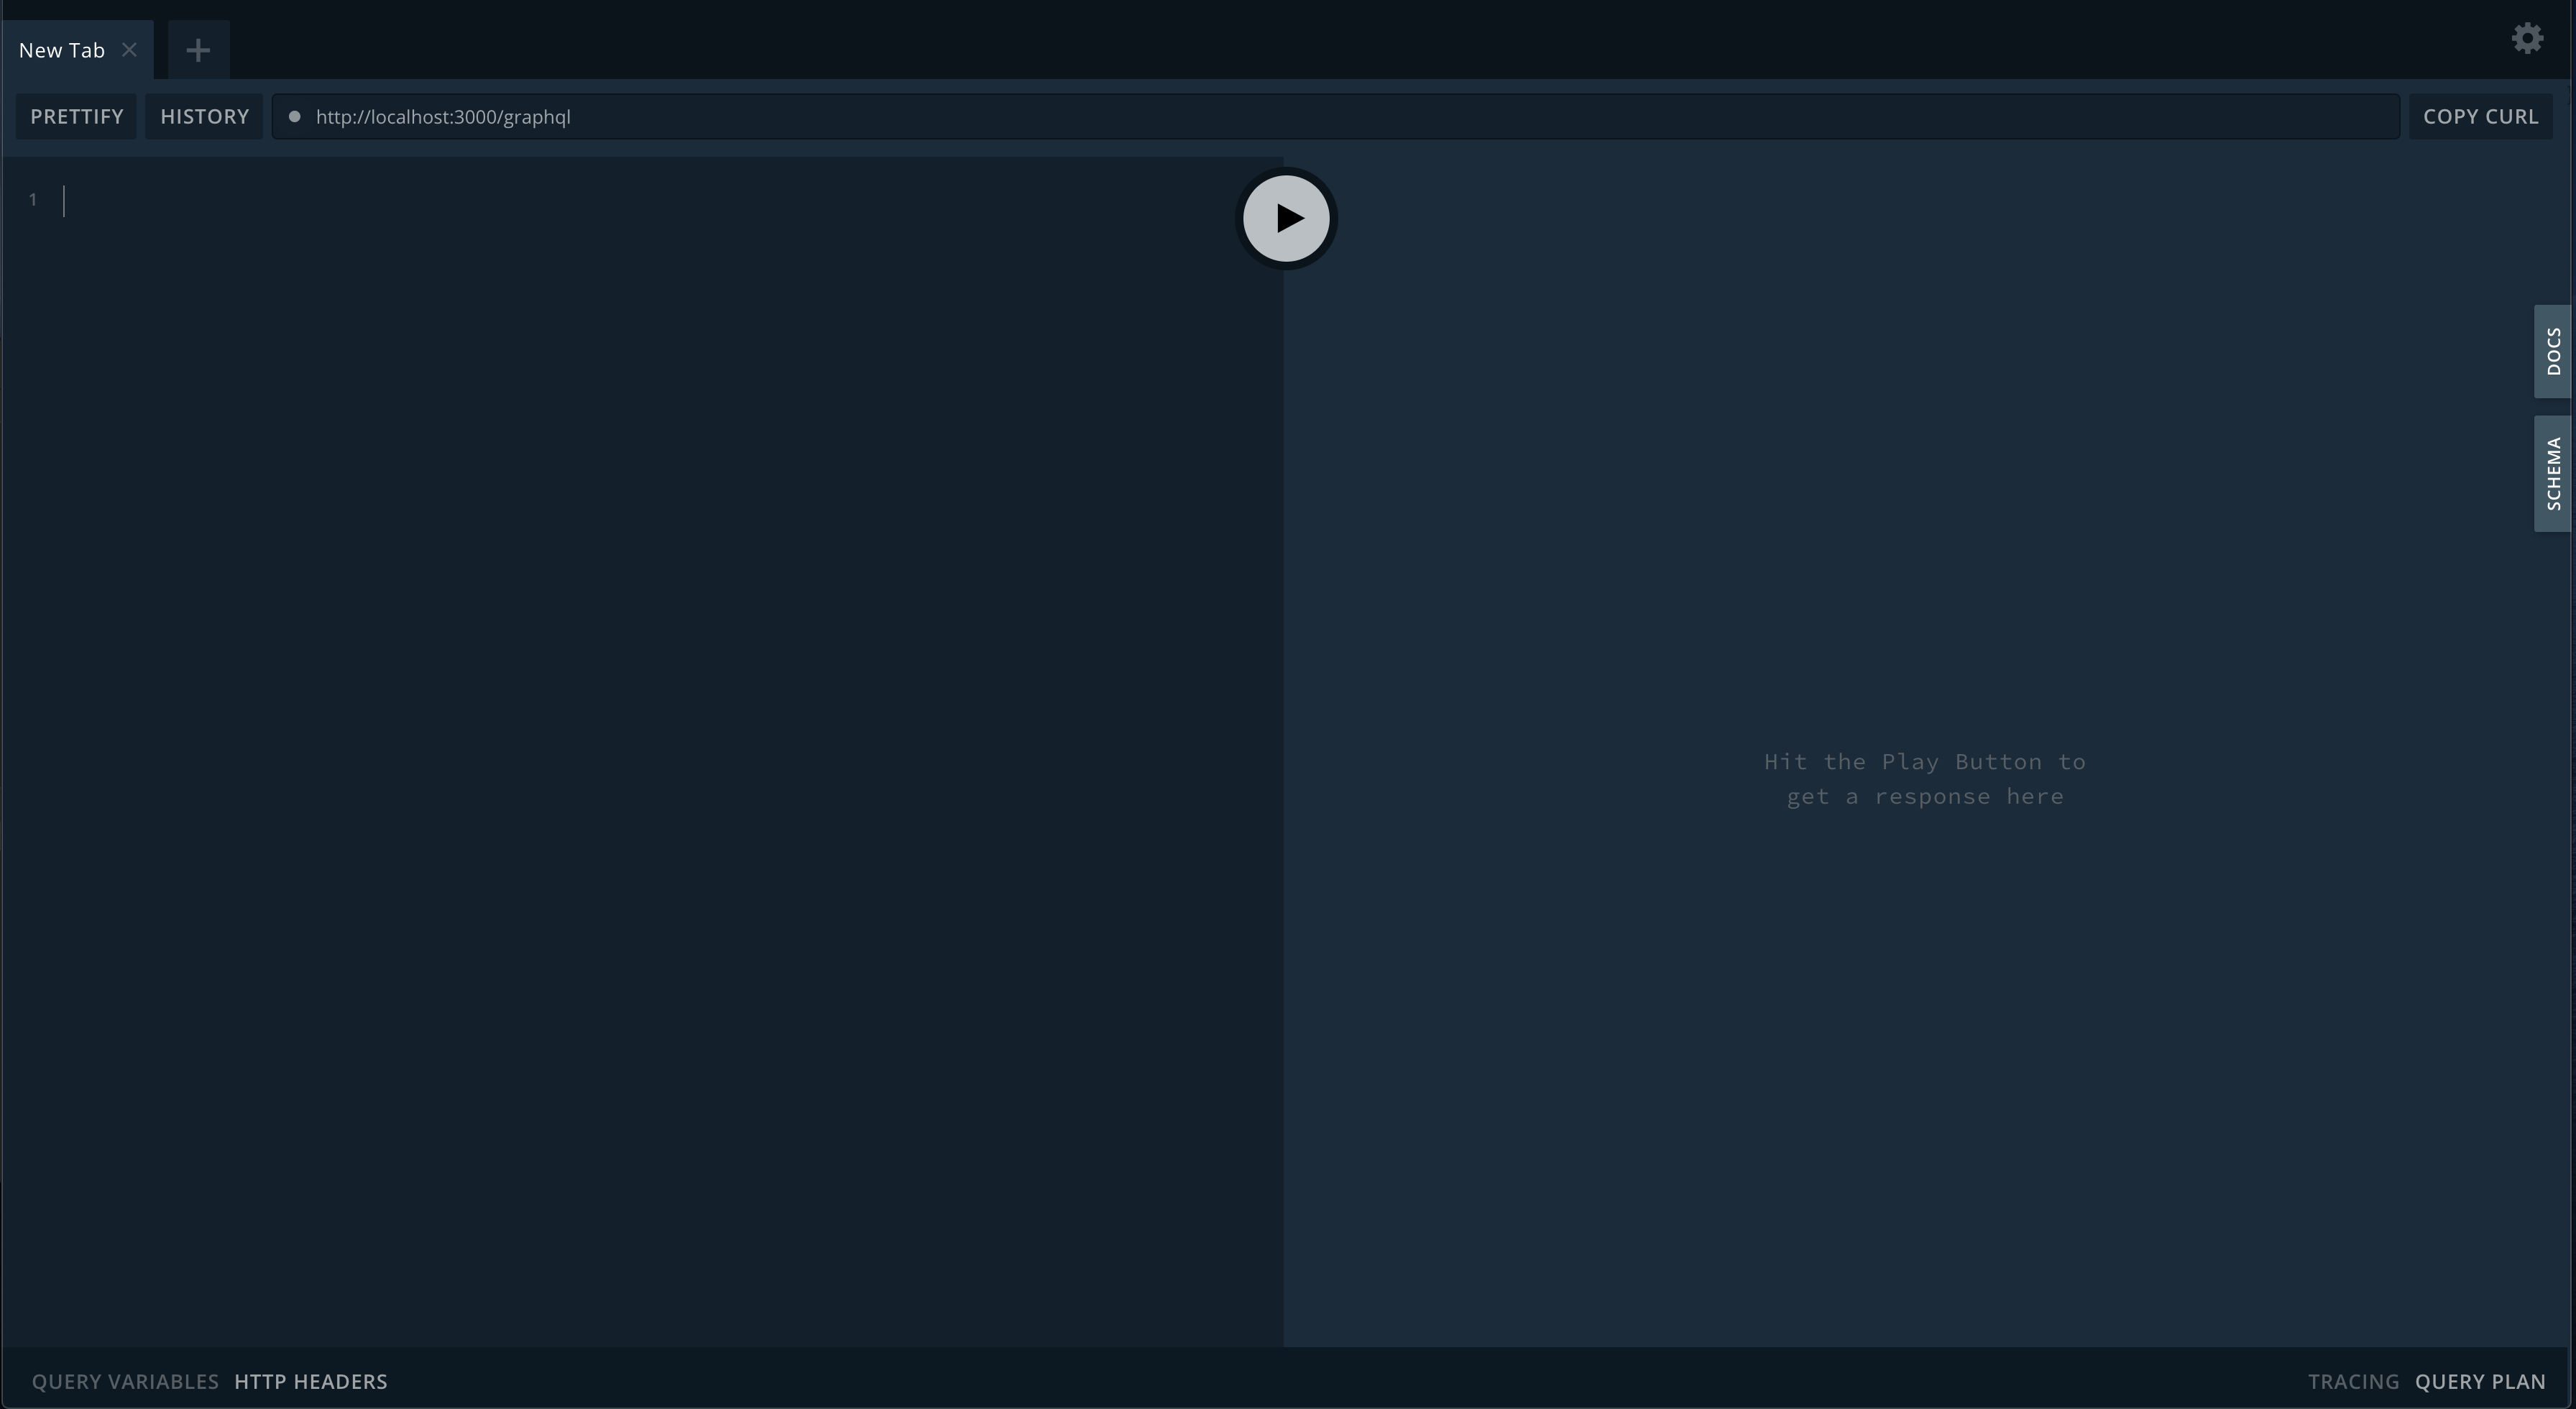
npm startVisit http://localhost:3000/graphql where you should see the playground
Exploring The GraphQL Endpoint#
Create a TodoItem#
- GraphQL
- Response
mutation { createOneTodoItem( input: { todoItem: { title: "Create One Todo Item", completed: false } } ) { id title completed created updated }}{ "data": { "createOneTodoItem": { "id": "1", "title": "Create One Todo Item", "completed": false, "created": "2020-01-01T00:43:16.000Z", "updated": "2020-01-01T00:43:16.000Z" } }}Create Multiple TodoItems#
- GraphQL
- Response
mutation { createManyTodoItems( input: { todoItems: [ { title: "Create Many Todo Items - 1", completed: false } { title: "Create Many Todo Items - 2", completed: true } ] } ) { id title completed created updated }}{ "data": { "createManyTodoItems": [ { "id": "2", "title": "Create Many Todo Items - 1", "completed": false, "created": "2020-01-01T00:49:01.000Z", "updated": "2020-01-01T00:49:01.000Z" }, { "id": "3", "title": "Create Many Todo Items - 2", "completed": true, "created": "2020-01-01T00:49:01.000Z", "updated": "2020-01-01T00:49:01.000Z" } ] }}Query For Multiple TodoItems#
Query for all todo items#
- GraphQL
- Response
{ todoItems { pageInfo { hasNextPage hasPreviousPage startCursor endCursor } edges { node { id title completed created updated } cursor } }}{ "data": { "todoItems": { "pageInfo": { "hasNextPage": false, "hasPreviousPage": false, "startCursor": "YXJyYXljb25uZWN0aW9uOjA=", "endCursor": "YXJyYXljb25uZWN0aW9uOjI=" }, "edges": [ { "node": { "id": "1", "title": "Create One Todo Item", "completed": false, "created": "2020-01-01T00:43:16.000Z", "updated": "2020-01-01T00:43:16.000Z" }, "cursor": "YXJyYXljb25uZWN0aW9uOjA=" }, { "node": { "id": "2", "title": "Create Many Todo Items - 1", "completed": false, "created": "2020-01-01T00:49:01.000Z", "updated": "2020-01-01T00:49:01.000Z" }, "cursor": "YXJyYXljb25uZWN0aW9uOjE=" }, { "node": { "id": "3", "title": "Create Many Todo Items - 2", "completed": true, "created": "2020-01-01T00:49:01.000Z", "updated": "2020-01-01T00:49:01.000Z" }, "cursor": "YXJyYXljb25uZWN0aW9uOjI=" } ] } }}Query for completed todo items#
- GraphQL
- Response
{ todoItems(filter: { completed: { is: true } }) { pageInfo { hasNextPage hasPreviousPage startCursor endCursor } edges { node { id title completed created updated } cursor } }}{ "data": { "todoItems": { "pageInfo": { "hasNextPage": false, "hasPreviousPage": false, "startCursor": "YXJyYXljb25uZWN0aW9uOjA=", "endCursor": "YXJyYXljb25uZWN0aW9uOjA=" }, "edges": [ { "node": { "id": "3", "title": "Create Many Todo Items - 2", "completed": true, "created": "2020-01-01T00:49:01.000Z", "updated": "2020-01-01T00:49:01.000Z" }, "cursor": "YXJyYXljb25uZWN0aW9uOjA=" } ] } }}Query For One TodoItem#
Query by id#
- GraphQL
- Response
{ todoItem(id: 1) { id title completed created updated }}{ "data": { "todoItem": { "id": "1", "title": "Create One Todo Item", "completed": false, "created": "2020-01-13T06:19:17.543Z", "updated": "2020-01-13T06:19:17.543Z" } }}Update a TodoItem#
Lets update the completed TodoItem we created earlier to not be completed.
- GraphQL
- Response
mutation { updateOneTodoItem(input: { id: 3, update: { completed: false } }) { id title completed created updated }}{ "data": { "updateOneTodoItem": { "id": "3", "title": "Create Many Todo Items - 2", "completed": false, "created": "2020-01-13T09:19:46.727Z", "updated": "2020-01-13T09:23:37.658Z" } }}Update Multiple TodoItems#
Lets update the completed TodoItem we created earlier to not be completed.
- GraphQL
- Response
mutation { updateManyTodoItems( input: { filter: { id: { in: [1, 2] } }, update: { completed: true } } ) { updatedCount }}
{ "data": { "updateManyTodoItems": { "updatedCount": 2 } }}You can check this by running the completed query from above.
Delete One TodoItem#
Lets update delete the first TodoItem.
- GraphQL
- Response
mutation { deleteOneTodoItem(input: { id: 1 }) { id title completed created updated }}{ "data": { "deleteOneTodoItem": { "id": null, "title": "Create One Todo Item", "completed": true, "created": "2020-01-13T09:44:41.176Z", "updated": "2020-01-13T09:44:54.822Z" } }}Delete Many TodoItems#
Lets update delete the create many todo items TodoItem using a filter.
- GraphQL
- Response
mutation { deleteManyTodoItems( input: { filter: { title: { like: "Create Many Todo Items%" } } } ) { deletedCount }}{ "data": { "deleteManyTodoItems": { "deletedCount": 2 } }}